When we send a email with iPhone or iPad, the Mail APP will “cache” the email address to its database. When we start a new email, the auto-fill feature will pop up those cached email addresses. In most cases this feature is helpful, but sometime we may need remove some cached email addresses, or even disable this feature.
Before iOS 6, the only way to remove unwanted cached email addresses, is using iBackupBot to modify the backup of iPhone or iPad then restore to the device. For iOS 6 or later, if you want to batch remove email addresses (by default, iOS will cache up to 1000 email addresses), you can also use below steps:
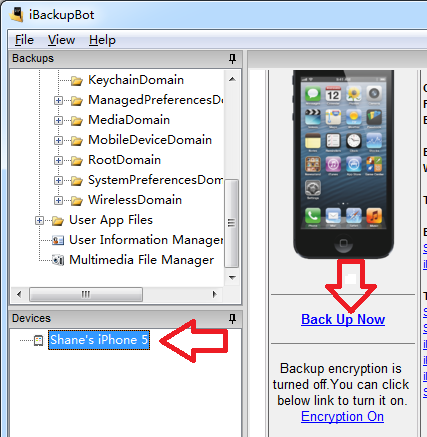
- 1. Backup your iPad or iPhone with iBackupBot:
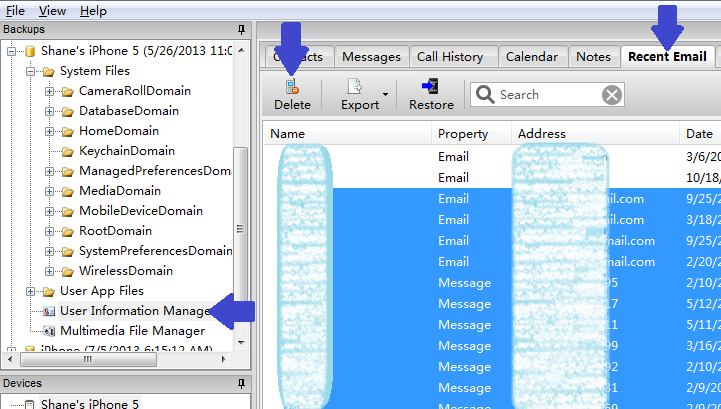
- 2. Select the backup just made, navigate to User Information Manager -> Recent Email, select email addresses that you want to delete then click Delete button on the toolbar (As the picture shows, iOS will also cache the destination of SMS messages):
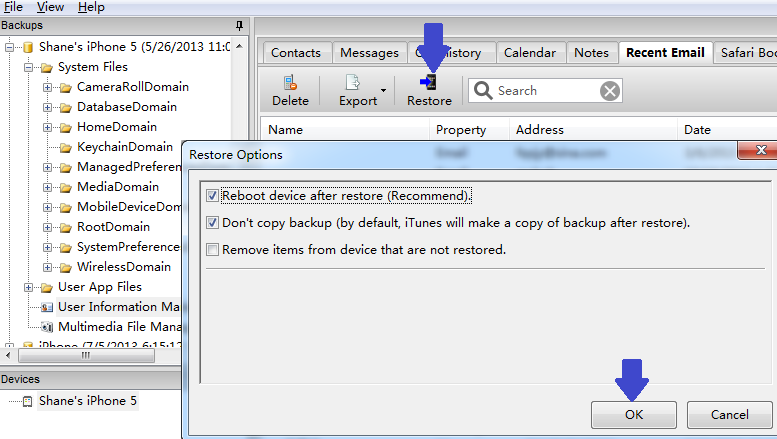
- 3. Click Restore button on the toolbar then click OK button, iBackupBot will restore the modified file to your device:
- 1. Backup your iPad or iPhone with iBackupBot, same as step 1 of delete email addresses.
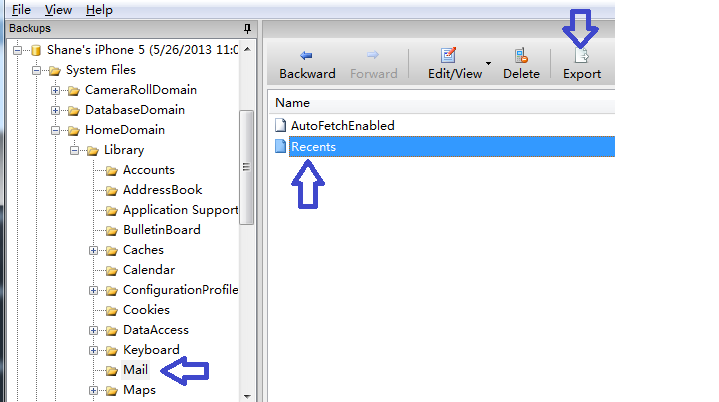
- 2. Select the backup just made, navigate to System File -> Home Domain -> Mail, select Recents in right side window, then click Export button on the toolbar, select the folder that include SQLite command-line shell program as destination folder:
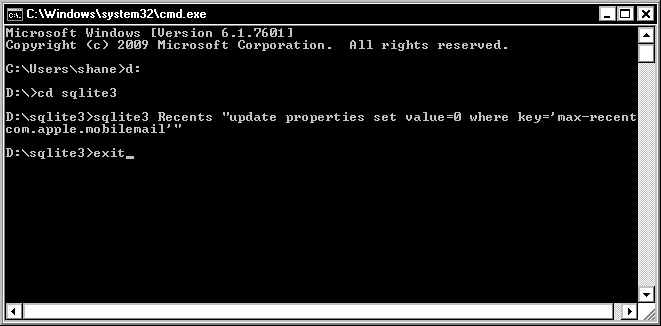
- 3. Open command prompt and go to the folder that include SQLite command-line shell program, then copy and paste below whole line of text to the command-line window then press Enter/Return key on the keyboard:
sqlite3 Recents “update properties set value=0 where key=’max-recent:com.apple.mobilemail'”
Then you can enter exit and press Enter/Return key on the keyboard in the command-line window to exit command-line shell.
(For open command-line prompt on Windows computer For Mac computer, just click on your Applications folder inside of the hard drive then open the Utilities folder and double-click on Terminal)
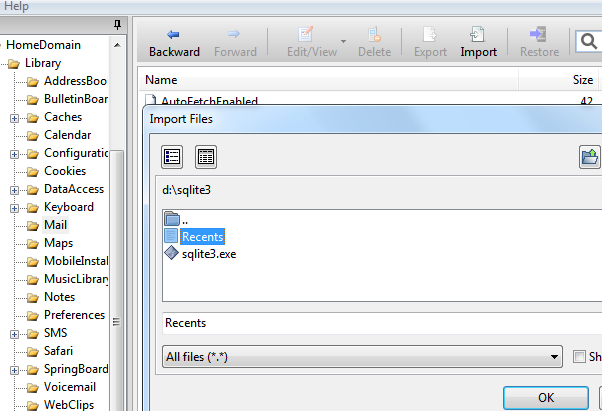
- 4. Switch back to iBackupBot, click Import button on the toolbar, select Recents file in the folder that include SQLite command-line shell program:
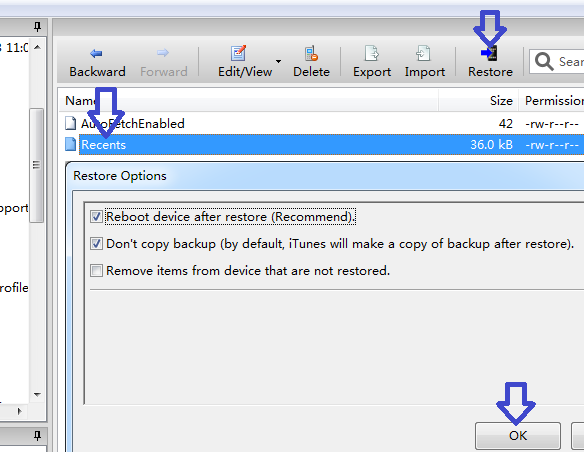
- 5. Select Recents in file list then Click Restore button on the toolbar to restore the modified file to your device:
For iOS 6 or later, with iBackupBot you can stop iOS to cache email address:
First, download SQLite command-line shell program for Windows / SQLite command-line shell program for Mac, you can also download it from SQLite official site. Then you can make a folder and expand the program to this folder. Then you can follow below steps:
After the restore processing done, your iPad or iPhone will restart, then it will not cache the email address anymore.
Tags: email address cache